|
Lamp Restoration and Lithophane Guide -2019
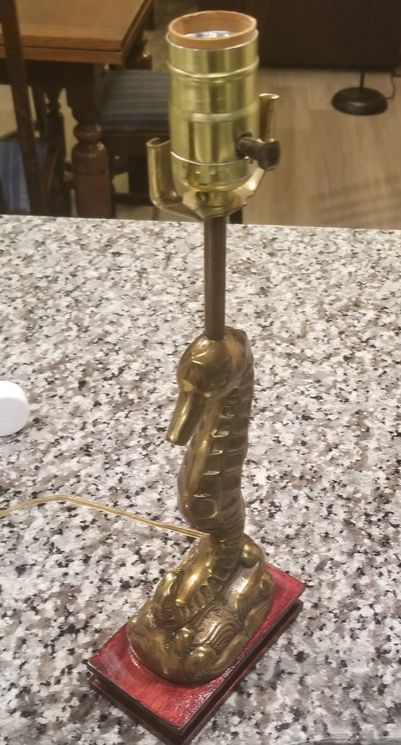
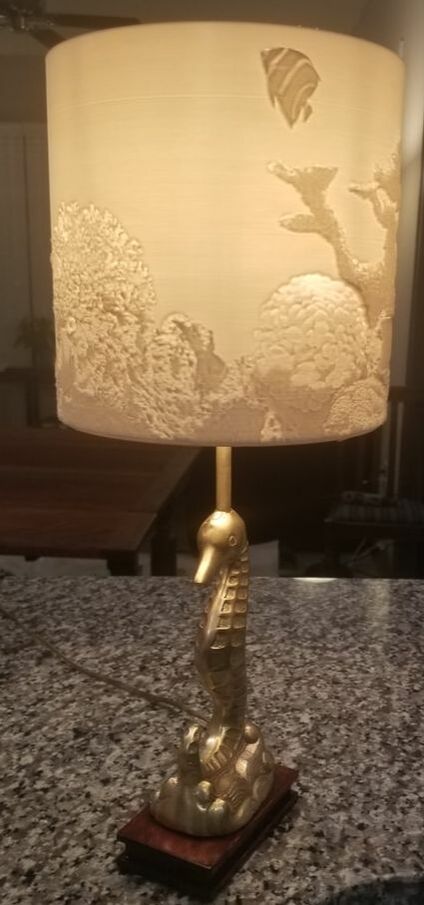
Brass Seahorse with wooden base and 3D printed Aquarium lithophane lamp shade 1/3/2019 Designer: Ryan Ogilvie Cost: $20 Time: 6 hours |

Restored Lamp with Lithophane Shade
|
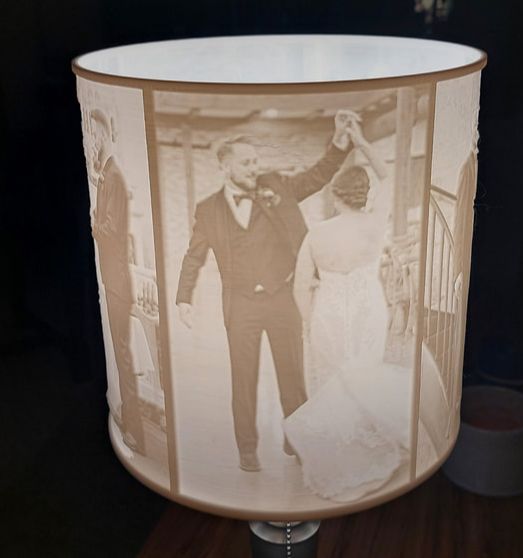
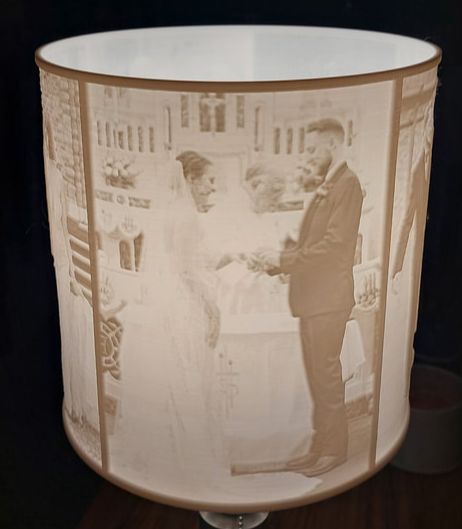
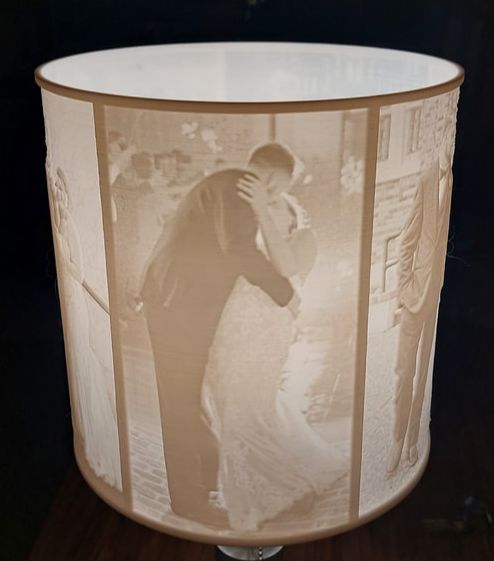
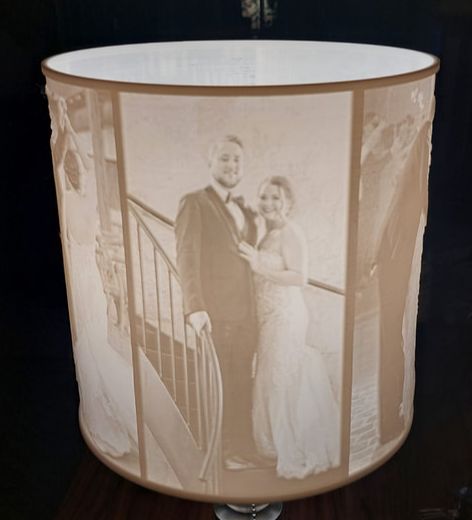
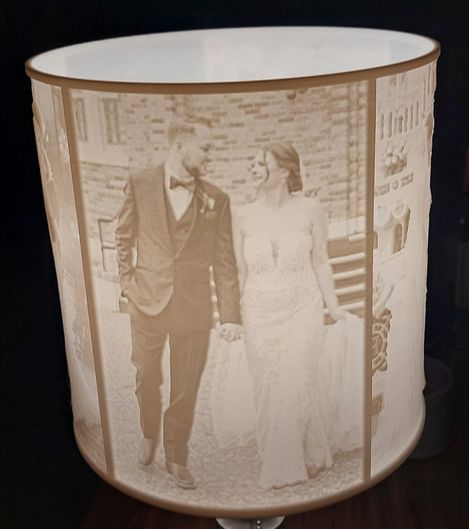
Friends wedding photos in Lithophane - 2022
|
|
|
|
|
|
Background:
I had this lamp for as long as I can remember in my room. I decided it was time to make it look like new. I cleaned the brass, refinished the wood bottom, and replaced the lamp shade with a lithophane shade. Cost: $20 ($5 bulb, $5 PLA filament, ~$10 Cleaning materials & stain)
|
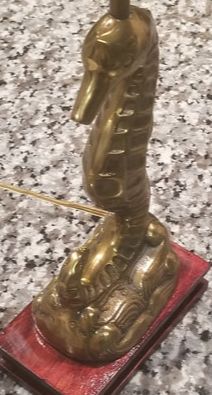
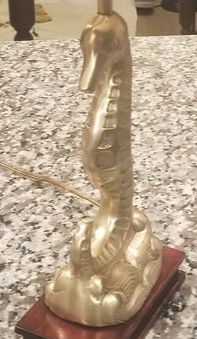
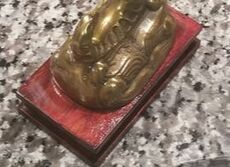
Lamp Before
|
|
Cleaning the Brass:
I tried many natural methods from [3] however they didn't clean it very well. However, it's a good guide to start. I did find the video from [2] that showed a method using bar keeper's friend. This method worked. I used a microfiber cloth and I had to be a bit more aggressive with fine steel wool and brush but It ended up working. The steel brush didn't really leave and noticeable marks, if there were any marks they were removed with the fine steel wool. I finished with a soap and water with a microfiber cloth to remove all the cleaning product. I had to repeat this process a couple times to get it all clean. I did this while watching TV since this is a mindless repetitive task. |
Brass Before
|
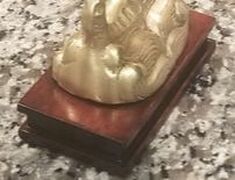
Brass After
|
|
Restoring the Wood:
I first Tried a more natural method to restore the wood with 2/3 oil & 1/3 vinegar mixture. This resulted with the before picture. It even looked worse, although I forgot to get a picture. I ended up messing up the wood finish while cleaning the brass. It gave me the opportunity to make it look even better by fully restoring it. I first sanded the wood as bare as I could, this was tricky and not done as well as I could since I couldn't detach the base. Then I moved up in grit till I reached 220. I cleaned with rubbing alcohol, since this was available ( ideally use mineral spirits). I covered the brass with painters tape. Then I stained it with red oak I had for another project and sealed it with polyurethane. A better description of this method is descried in my mahogany restoration guide here. |
Wood Before
Wood After
|
|
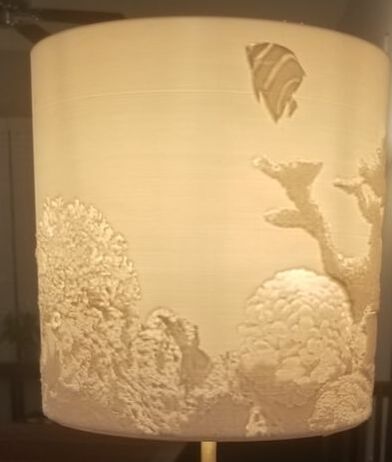
Creating the Lithophane:
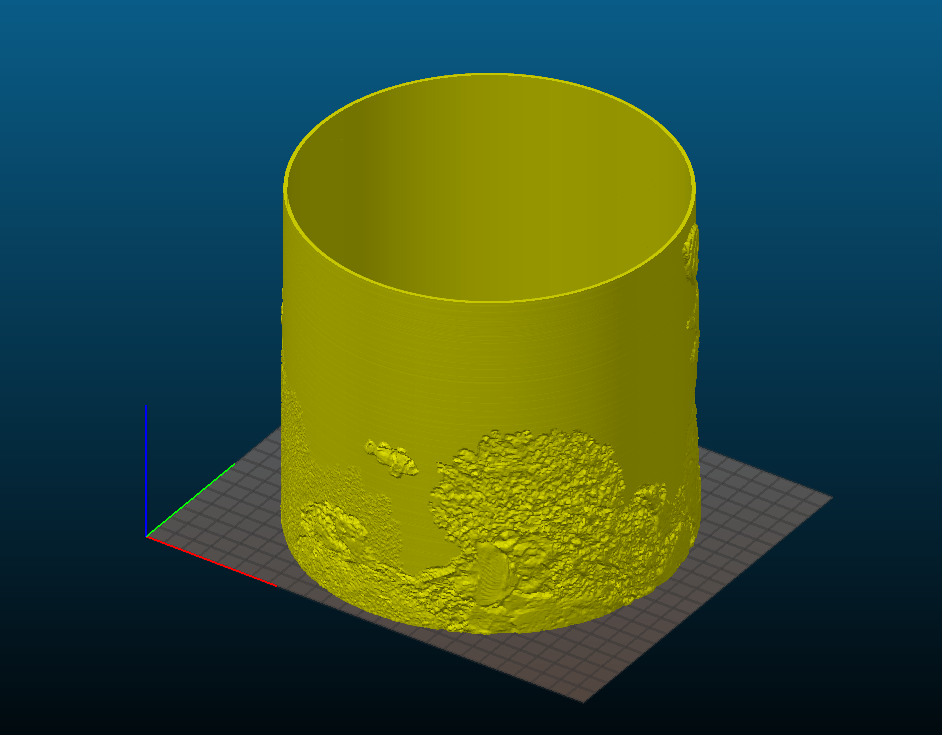
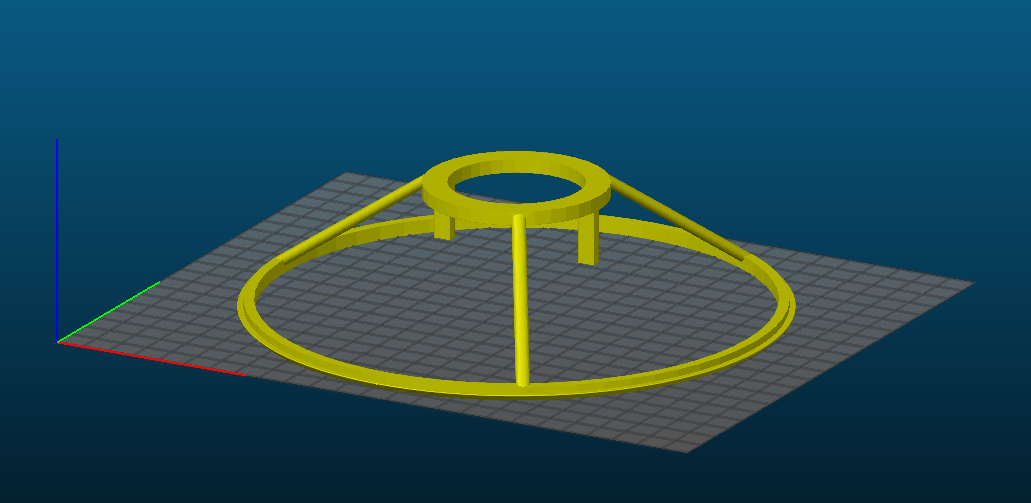
I got the aquarium image for the lithophane from [4]. I cropped the image to what you see in the image for lithophane. It needs to be very long and short for best results. Then I used a image to lithophane tool from [1]. [5] is a good how to resource I used. The tool is a bit buggy when you want to get a large object so I downsized what it was making and scaled it up in my 3D printer slicing tool. For the lithophane tool I set it to a 360 degree outer curve and adjusted the settings until I got the desired outcome. Then I placed it in my Slic3r program to create the gcode for my 3d printer. I set the print with about 50% infill and concentric infill and a single perimeter. The infill already creates a second perimeter. The concentric circles help provide a consistent amount of fill for different thickness of material on the lithophane. I also sized it up 150% since the image to lithophane tool failed when I wanted a bigger piece. I also had to create a holder for the lithophane shade. I designed this in Solidworks and the lithophane simply sits on top. This was also 3D printed. This can be seen in the image from the slicing program and the top down view. Additionally, the lamp knob was so old it was falling apart, so i designed another one in solidworks and 3d printed that as well. I then put all the pieces together and tested it out! Thank you for reading! |
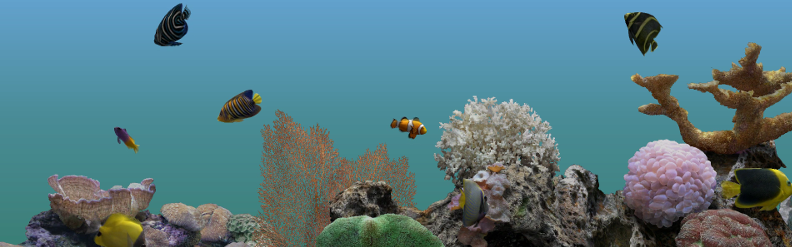
Image for Lithophane

|
References:
[1]: Image to Lithophane: http://3dp.rocks/lithophane/
[2]: How to clean brass under 1 minute: www.youtube.com/watch?v=mEyJOS54eco
[3]: How to Clean Brass: www.bobvila.com/articles/how-to-clean-brass/
[4]: Lithophane Image Source: slickdeals.net/f/11491547-free-aquatic-life-4k-roku-screensaver-virtual-aquarium
[5] How to 3d print your own lithophane: https://all3dp.com/2/how-to-3d-print-your-own-lithophane/
